
Getting Started with Asgardex
Learn how to set up and use Asgardex for secure cross-chain trading. Follow our comprehensive guide to get started in minutes.
Before You Start
System Requirements
- Windows 10+ / macOS 10.15+ / Linux
- 4GB RAM minimum
- 2GB available storage
- Stable internet connection
What You'll Need
- Crypto assets to trade (optional)
- Hardware wallet or Vultisig vault (recommended)
- Basic knowledge of DeFi
- Backup storage for seed phrases
Step-by-Step Walkthrough
Download Asgardex
Get the latest version for your operating system
Download the Asgardex desktop application from GitHub Releases. Choose the version that matches your operating system (Windows, macOS, or Linux).
Download Now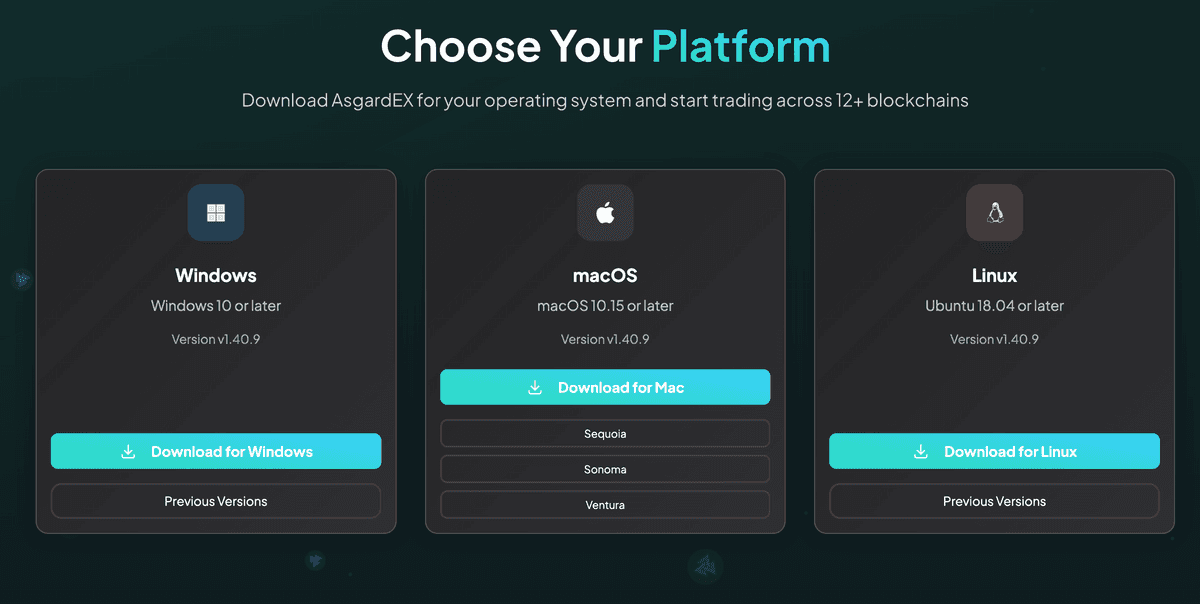
Install & Launch
Follow the installation steps for your platform
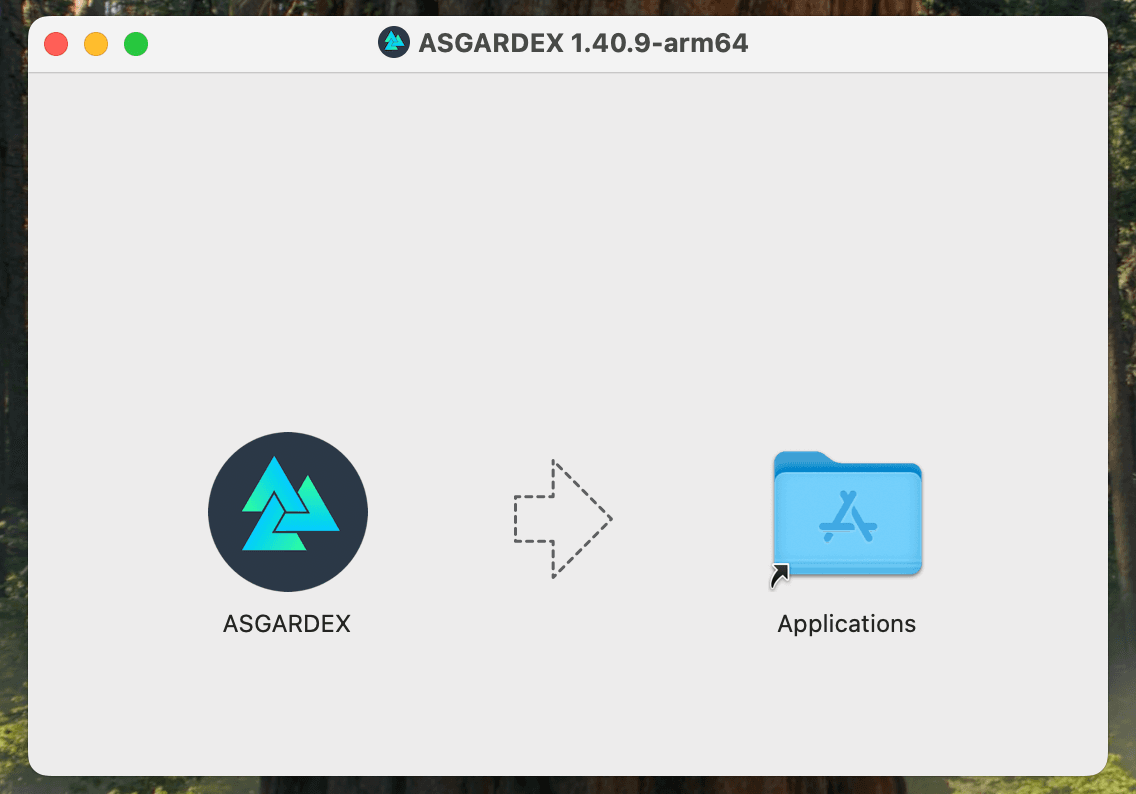
Run the downloaded file to install Asgardex. On Windows, launch the .exe installer; if SmartScreen warns, click 'More info' then 'Run anyway' as the app is digitally signed. On macOS, open the .dmg and drag Asgardex to Applications; if Gatekeeper blocks it, allow the app under System Settings > Privacy & Security. On Linux, use the AppImage, Deb, Flatpak, or the community AUR package on Arch.
Tips
- •Windows: click 'More info' then 'Run anyway' if SmartScreen blocks the signed installer
- •macOS: right-click the app and choose 'Open' if Gatekeeper blocks it the first time
- •Linux (AppImage): run chmod +x ASGARDEX-*.AppImage, then launch it with ./ASGARDEX-*.AppImage
- •Linux (Deb): install with sudo dpkg -i ASGARDEX-*.deb on Debian/Ubuntu (or open the .deb in your package manager)
- •Linux (Flatpak): install with flatpak install --user ASGARDEX-*.flatpak, then start it from your applications menu (requires Flatpak installed)
- •Linux (Arch/AUR): yay -S asgardex-appimage (community-maintained package of the official AppImage)
- •Make sure you have the necessary permissions to install applications
Create or Import Wallet
Set up your wallet securely
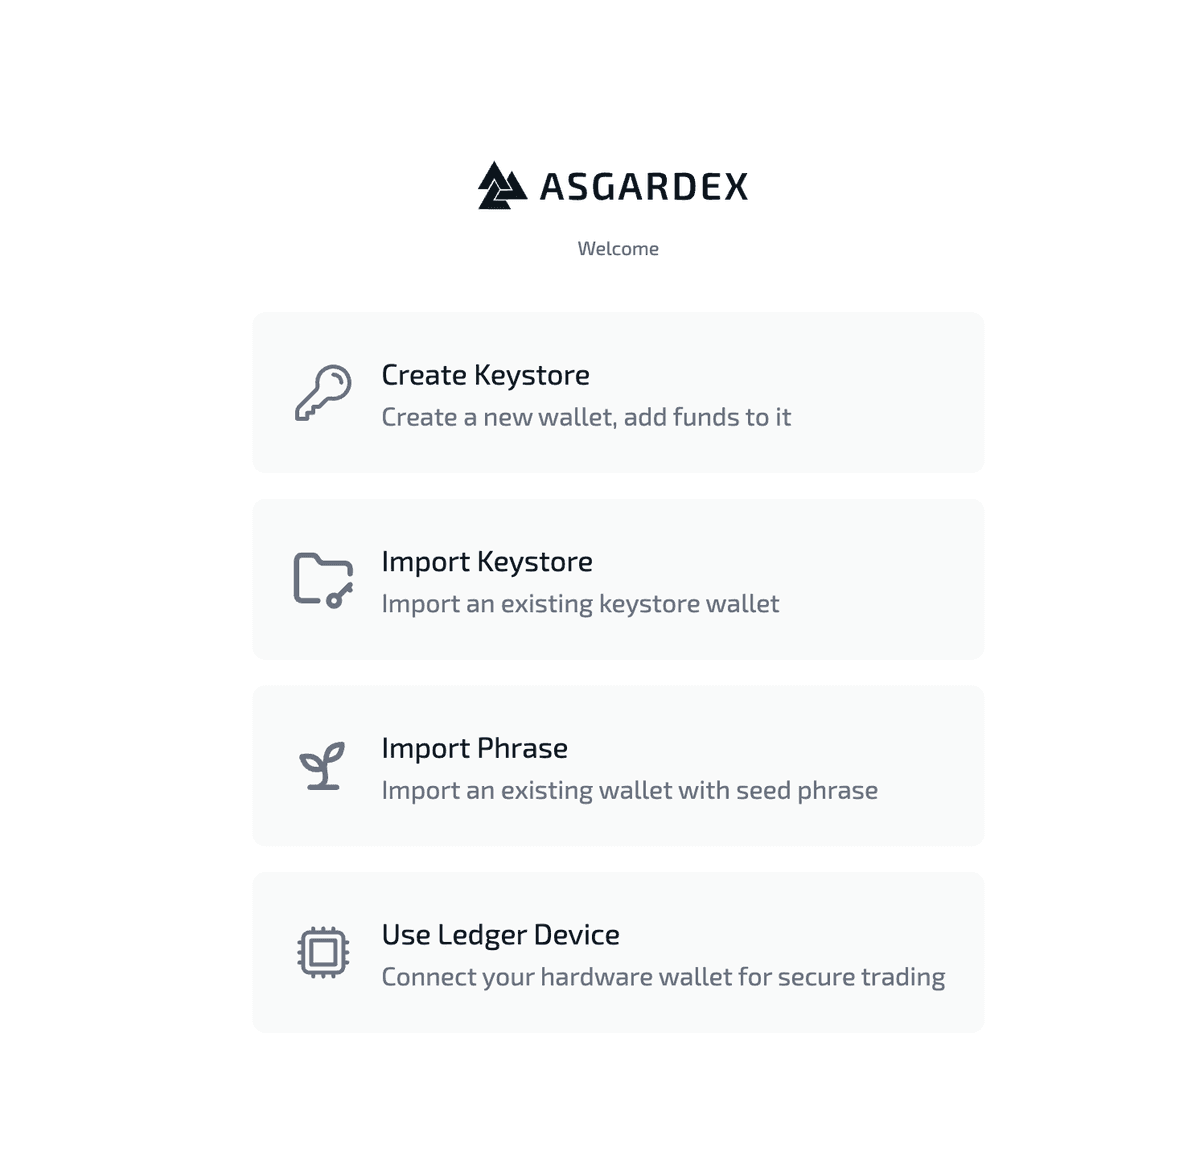
Choose to create a new wallet or import an existing one. Asgardex supports multiple wallet types including mnemonic phrases, keystore files, Ledger hardware wallets, and Vultisig MPC vaults.
Tips
- •Write down your mnemonic phrase and store it safely
- •Never share your private keys with anyone
- •Consider using a hardware wallet for maximum security
- •Vultisig offers a seedless, MPC-based alternative if you prefer not to manage a seed phrase
Use Ledger-Only Mode
Maximum security without keystore files
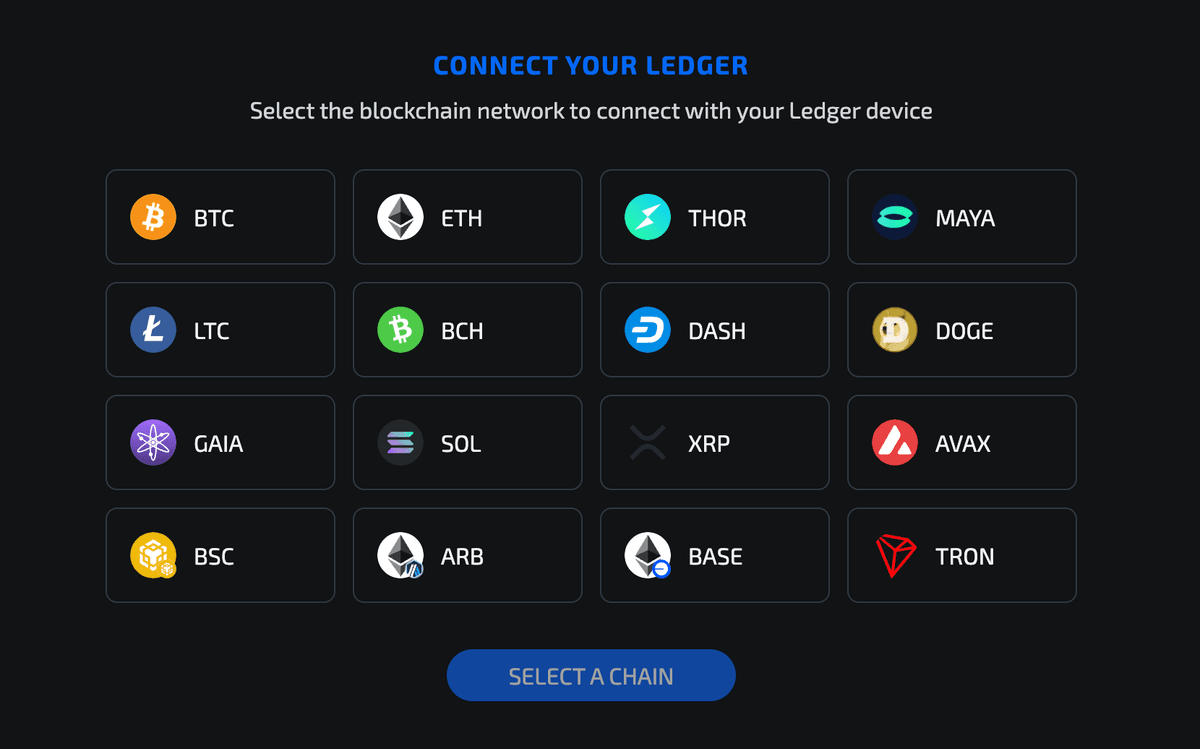
For the highest security, Asgardex can be used entirely with your Ledger hardware wallet without creating any keystore files. This mode ensures your private keys never touch your computer, providing enterprise-grade security for all transactions.
Tips
- •Connect your Ledger device before starting
- •Ensure Ledger firmware is up to date
- •Install the required apps for each blockchain you want to use
- •Your private keys remain secure on the Ledger device at all times
Connect to Networks
Access multi-chain protocols
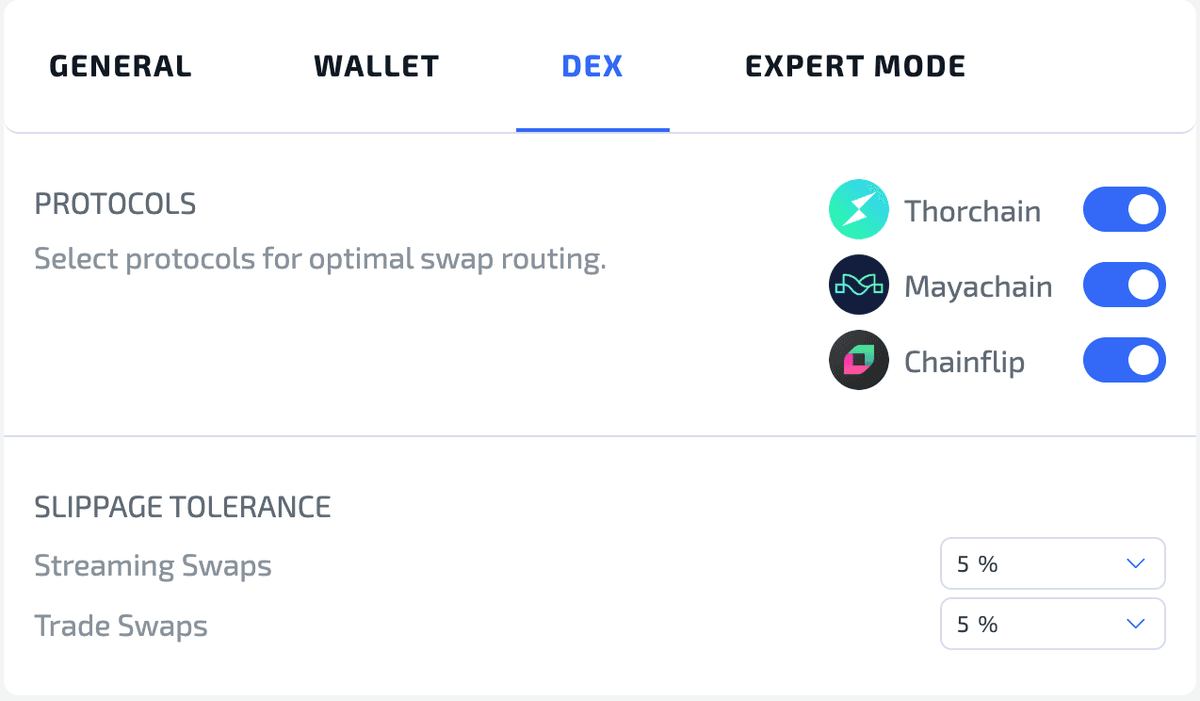
Asgardex automatically connects to THORChain, MayaChain, and Chainflip networks. You can view network status and switch between different protocols in the network selector.
Make Your First Swap
Start trading across chains
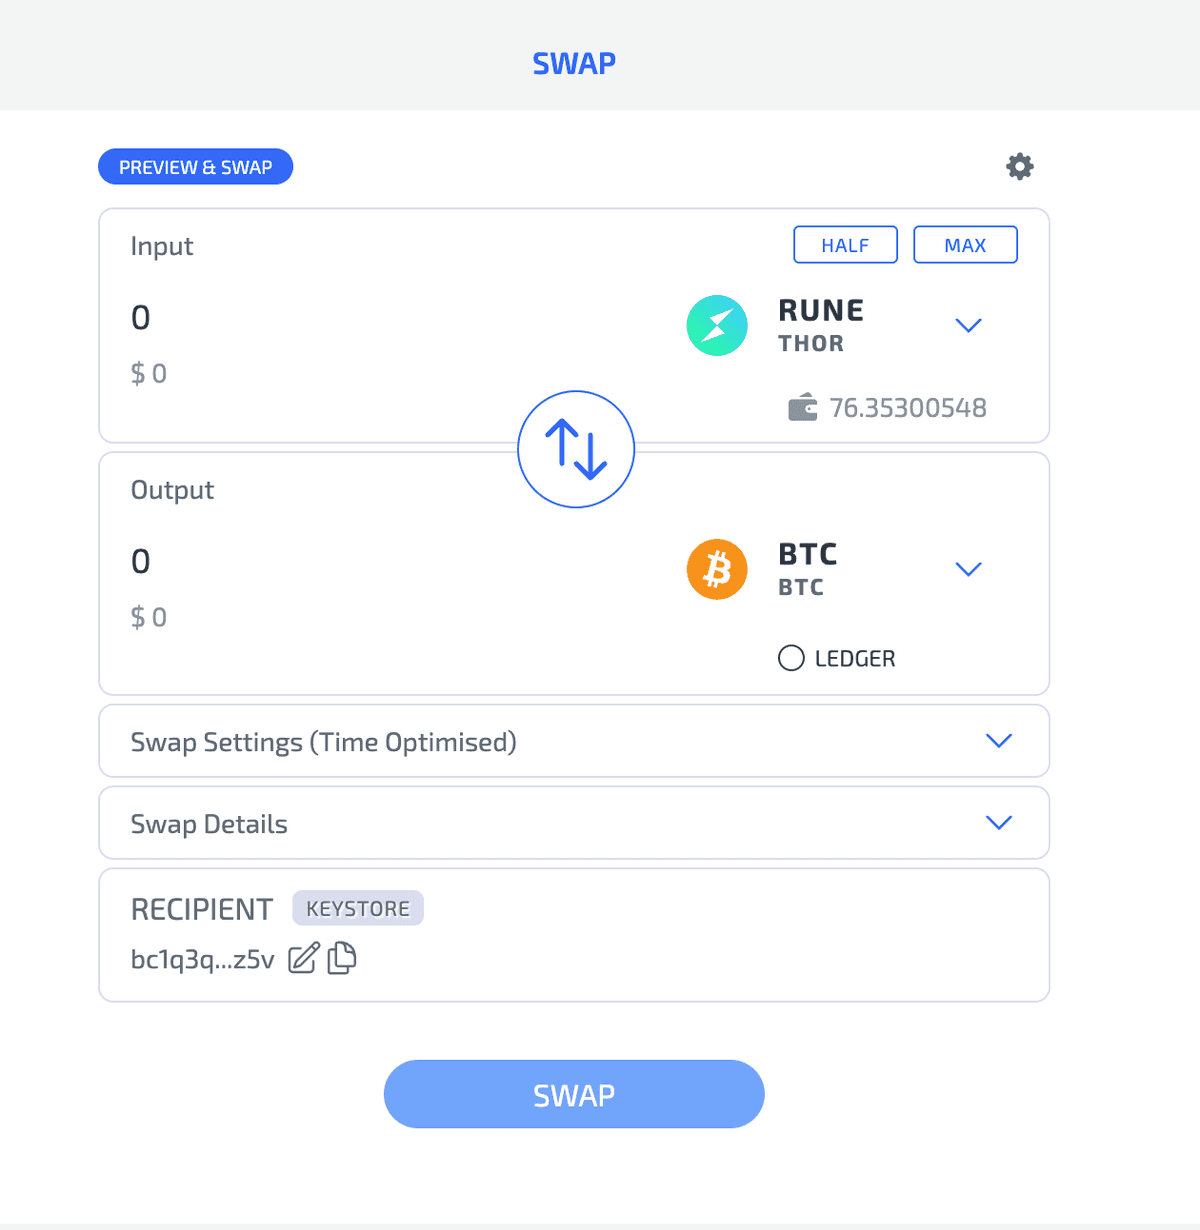
Navigate to the Swap section to exchange assets across different blockchains. Select your source and destination assets, enter the amount, and confirm the transaction.
Tips
- •Start with small amounts to test the process
- •Check network fees before confirming
- •Allow time for cross-chain transactions to complete
Explore Advanced Features
Discover liquidity pools and node operations
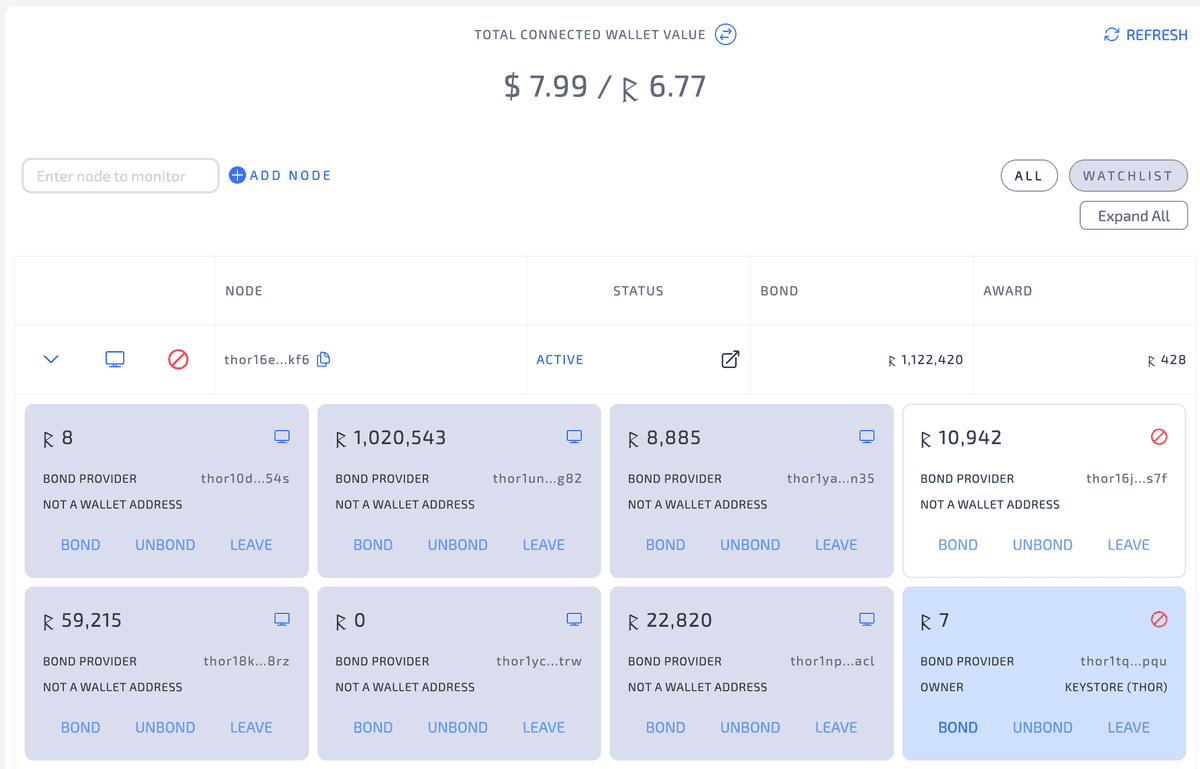
Once comfortable with basic swaps, explore liquidity provision, savings vaults, and node management features for earning yield on your assets.
Need Help?
Our community and support team are here to help you succeed